


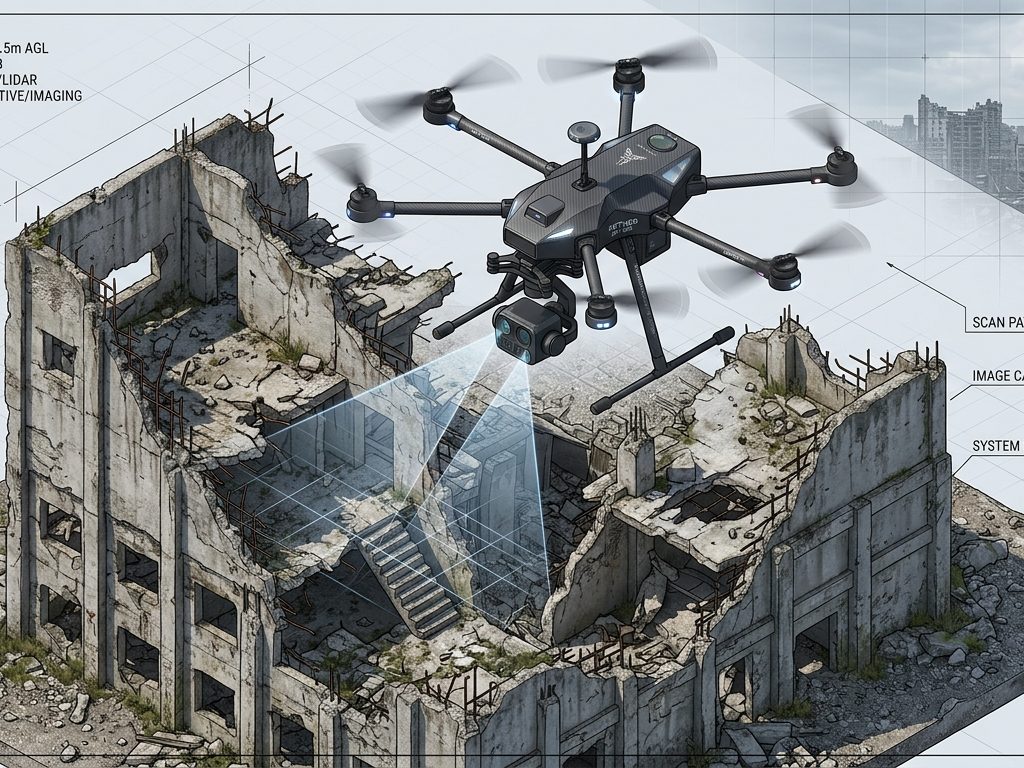
You have the photos, you have Metashape installed and running. Now what? This guide takes you step-by-step through the entire workflow: from organizing your images before importing them to exporting your final 3D model in the format you need. It’s the guide we wish we’d had when we started.
Before opening Metashape: photo capture
The processing result can only be as good as the input images. No software can recover information that was not captured.
Key recommendations for capture
Overlap: Each point of the object or terrain must appear in at least three images. As a general rule, aim for 80% frontal and 70% lateral overlap between consecutive photos.
Angle coverage: Don’t just photograph “head-on.” For objects, shoot from all sides from different heights. For terrain with vegetation or structures, combine downward-facing shots (camera pointing straight down) with oblique shots (camera tilted between 15° and 45°).
Lighting: I preferred diffused natural light (cloudy days or shade) over direct light with harsh shadows. Avoid mixing photos taken under different lighting conditions within the same project.
Camera settings: Use the smallest aperture possible (f/8 to f/11) to maximize depth of field. Set the ISO to the minimum to reduce noise. Use a fast enough shutter speed to avoid motion blur (1/500 or faster outdoors).
What to avoid: shiny surfaces, glass, water, and cloudless skies. These elements have no recognizable texture for the algorithm and generate errors in the model.
Step 1: Create a new project and add photos
Open Metashape. Before importing anything, save the project:
File → Save As → choose a folder dedicated to the project and give it a descriptive name (for example: levantamiento_edificio_norte_mayo2026).
Organizational tip: Create a root folder for the project with subfolders:
/fotos,/procesado,/exportaciones. Save the.psxMetashape file in the root.
To add photos:
Workflow → Add photos (or drag images directly to the Workspace panel).
Metashape will display the photos in the Workspace panel under a “Chunk” (processing block). If you have images from different sessions or cameras, you can organize them into separate chunks and then align them.
📷 Photo ideas for this step:
- Screenshot of the Metashape interface with the photos already imported into the Workspace panel, showing the thumbnails.
- Screenshot of the file explorer showing the recommended folder structure.
Step 2: Inspect and filter the photos
Before processing, quickly review the imported images. Metashape displays an estimate of the image quality for each photo (viewable in the Photos tab ).
To calculate it manually: Tools → Estimate image quality
Photos with a quality below 0.5 should be discarded from processing. Photos with a quality between 0.5 and 0.7 can be included but will contribute less. Ideally, most should have a quality above 0.8 .
Disable (right click → Disable) blurry, overexposed, underexposed photos or photos that capture moving objects (people, cars, vegetation in strong wind).
📷 Photo ideas for this step:
- Screenshot of the photo panel showing the image quality column with visible values.
Step 3: Align photos
This is the first processing step. Metashape detects the characteristic points of each image, establishes correspondences between photos, and calculates the position of each camera in space.
Workflow → Align photos
Recommended parameters
| Parameter | Option | When to use it |
|---|---|---|
| Precision | High | Professional projects, surveying |
| Precision | Average | Medium-sized projects, balance speed/quality |
| Precision | Low | For rapid testing only |
| Key Point Limit | 40,000 | Default value, works well in most cases |
| Limit of joining points | 4,000 | Default value |
| Apply mask | As needed | If you applied masks to the photos |
Tip: For large projects (more than 500 photos), start with Medium precision for an initial review. If the result is good, you can reprocess at High.
When finished, you will see the sparse point cloud and the positions of all the cameras represented as small squares in the 3D view. Check that:
- The cameras form the expected flight path or coverage.
- There should be no “loose” cameras too far from the main group (they indicate problematic photos).
- The alignment report (click on the report icon) shows a reprojection error of less than 1 pixel.
If many cameras are not aligned, the problem is usually insufficient overlap or low-quality photos.
📷 Photo ideas for this step:
- Screenshot of the scattered point cloud with camera positions visible in Metashape.
- Screenshot of the alignment report showing the reprojection error.
Step 4: (Professional only) Configure GCP checkpoints
If you need the model to have real georeferenced coordinates, this is the time to load the ground control points (GCPs) .
File → Import → Import reference points → select the CSV file with your GCP coordinates.
Next, for each GCP, open the photos where it’s visible and manually mark it by clicking on it. Metashape requires each GCP to be marked in at least 3 photos to include it in the alignment.
Once all the GCPs are marked, click Update Transformation in the Reference panel to readjust the model with the actual coordinates. The GCP error should be less than 5 cm for standard topographic projects.
If you skip this step, the model will have correct geometry but will be in an arbitrary coordinate system, without scale or real geographical orientation.
📷 Photo ideas for this step:
- Screenshot of the Reference panel in Metashape with GCPs loaded and their errors visible.
- Actual photo of a GCP target in the field (printed paper with code, colored disc, etc.).
Step 5: Build the dense point cloud
With the cameras aligned, Metashape can now calculate the depth of each pixel and generate the dense point cloud.
Workflow → Build dense point cloud
Recommended parameters
| Parameter | Option | Description |
|---|---|---|
| Quality | Ultra High | Use the original resolution of the photos. Very slow, only suitable for small objects or when maximum detail is needed. |
| Quality | High | It reduces image sizes by half. A good balance of quality and time for most projects. |
| Quality | Average | Reduce to a quarter. For large projects or testing. |
| Depth filtering | Gentle | For complex surfaces, vegetation |
| Depth filtering | Aggressive | For smooth, indoor surfaces |
This is the longest stage. A project of 300 photos in High quality can take between 1 and 4 hours depending on the hardware. The GPU significantly speeds up this process.
When finished, check the dense point cloud: it should cover the entire area of interest without significant gaps. If there are gaps, they generally indicate areas with little overlap or surfaces without texture.
📷 Photo ideas for this step:
- Screenshot of a dense point cloud of a terrain or building, with good visible point density.
- Screenshot showing the progress bar of the ongoing processing.
Step 6: Build the 3D mesh
The mesh connects the points of the cloud to generate a continuous surface.
Workflow → Build mesh
Recommended parameters
| Parameter | Recommendation |
|---|---|
| Surface type | Arbitrary for objects and buildings / Field height for flat terrain |
| Source data | Dense point cloud (for maximum detail) |
| Face count | High (for export/archive) / Medium (for online viewing) |
Tip: For topographic projects (DEM generation), sometimes you can skip the mesh and go directly to the DEM from the point cloud.
📷 Photo ideas for this step:
- Screenshot of the mesh model (without texture, gray) showing the detailed geometry.
Step 7: Build the texture
The texture projects the original photographs onto the mesh to obtain the final photorealistic model.
Workflow → Build texture
Recommended parameters
| Parameter | Recommendation |
|---|---|
| Mapping mode | Generic for objects / Adaptive orthophoto for buildings and flat surfaces |
| Mixing mode | Mosaic (better overall quality) |
| Texture size | 4096×4096 for medium-sized projects / 8192×8192 for maximum detail |
📷 Photo ideas for this step:
- Capture of the final textured 3D model, ideally of a recognizable object (historical building, archaeological piece, terrain).
- Side-by-side comparison of untextured vs. textured mesh.
Step 8: (Professional Only) Generate orthomosaic and DEM
For mapping or surveying projects, the final products are the orthomosaic and the digital elevation model.
Workflow → Build Elevation Model (DEM) Workflow → Build Orthomosaic
An orthomosaic is a geometrically corrected, georeferenced orthophoto, ready for use in GIS. The DEM represents the elevation of each point on the terrain.
Before exporting, check the coordinate system in the Reference panel: it must match the reference system of your GCPs and the one expected by your GIS software (ArcGIS, QGIS, AutoCAD Civil 3D, etc.).
📷 Photo ideas for this step:
- Capture of the generated orthomosaic superimposed on the reference map in QGIS or similar.
- DEM capture with elevation color scale.
Step 9: Export the result
File → Export → choose the format according to your destination:
| Destination | Recommended format |
|---|---|
| 3D printing | OBJ, STL |
| CAD/BIM Software | OBJ, FBX, DXF |
| Game engine (Unity, Unreal) | FBX, OBJ |
| GIS software (ArcGIS, QGIS) | GeoTIFF (orthomosaic / DEM), LAS/LAZ (point cloud) |
| Archive / Heritage | OBJ + MTL + texture / E57 |
| Web visualization (Sketchfab) | OBJ, FBX, PLY |
| 3D PDF | PDF (direct export from Metashape) |
Tip: Before exporting the mesh, consider reducing the number of polygons using Tools → Mesh → Decimation if the destination is web visualization or real-time display. Models without decimation can have millions of polygons, unnecessary for many uses.
Summary of the complete workflow
Captura de fotos
      ↓
Crear proyecto y agregar fotos
      ↓
Inspeccionar calidad de imágenes
      ↓
Alinear fotos (SfM)
      ↓
[Professional] Cargar y marcar GCPs
      ↓
Construir nube de puntos densa (MVS)
      ↓
Construir malla 3D
      ↓
Construir textura
      ↓
[Professional] Generar DEM / Ortomosaico
      ↓
Exportar al formato deseado
Common mistakes and how to avoid them
Few cameras aligned: insufficient overlap between photos or low image quality. Solution: check coverage during capture and delete low-quality photos before aligning.
Model with gaps: areas photographed from a single angle or surfaces without texture. Solution: add complementary photos of those areas.
Model “floating” in space (not to scale): GCPs were not used and GPS coordinates were not imported. Solution: Use GCPs or enable the use of GPS data from photos (exif) in the Reference panel.
Very slow processing: quality set too high for the available hardware. Solution: Use Medium quality for large projects or upgrade your GPU.
Textures with visible seams: variable lighting between photos. Solution: always photograph with uniform light and use the Mosaic blending mode .
Do you need help with your first project?
At Aufiero Informática , official distributors of Agisoft Metashape in Argentina, we offer technical support in Spanish and guidance for teams starting out with photogrammetry.
👉 View Agisoft Metashape licenses at Aufiero Informática
Frequently Asked Questions
Can I process photos taken with my cell phone?
Yes. Modern mid-range and high-end smartphones produce photos of sufficient quality for many projects. The result won’t be the same as that of a DSLR camera with a quality lens, but for general documentation and creative projects, it’s perfectly acceptable.
Is it necessary to process in the exact order of this workflow?
Yes, the steps are sequential: you can’t build the dense cloud without having aligned the photos first, nor can you build the mesh without the dense cloud. Metashape handles this automatically.
How much disk space do I need?
It depends on the project. As a reference: 300 24MP photos generate approximately 3-5GB of project files in High quality. Exported files are generally smaller.
Can I pause and resume processing?
Yes. Metashape saves the project state in the file .psx. You can close the program and resume from the last completed step.